Fundamental Stages in Roof Replacement: A Homeowner’s Guide
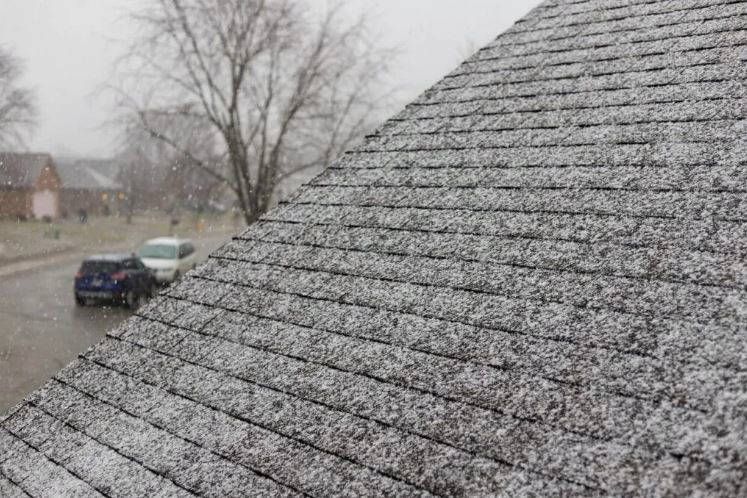
A roof plays a crucial role in protecting your home, but over time, wear and tear make replacement inevitable. Several factors, including material quality, climate conditions, and maintenance, influence a roof’s lifespan. For homeowners in Chicago and similar regions, understanding when and how to replace a roof is key to preserving property value and ensuring long-term safety.
Whether you’re buying a home, preparing to sell, or simply maintaining your property, knowing the lifespan of your roof and the steps involved in replacement can save you from costly surprises. Roof replacement is a significant investment, but proper planning ensures durability and long-term protection.
Factors Affecting Roof Longevity
Several key factors determine how long your roof will last and when replacement should be considered:
- Roofing Material: The type of material plays a major role in longevity. Asphalt shingles typically last 20–30 years, while metal or slate roofs can exceed 50 years.
- Material Quality: High-quality materials may have a higher upfront cost but reduce long-term repair expenses and extend roof lifespan.
- Ventilation: Proper attic ventilation helps regulate temperature and moisture, preventing premature material deterioration.
- Regular Maintenance: Routine inspections and prompt repairs can prevent minor damage from escalating into major issues requiring full replacement.
Step-by-Step Roof Replacement Process
Replacing a roof is a process that requires professional expertise. Here’s a breakdown of the essential stages:
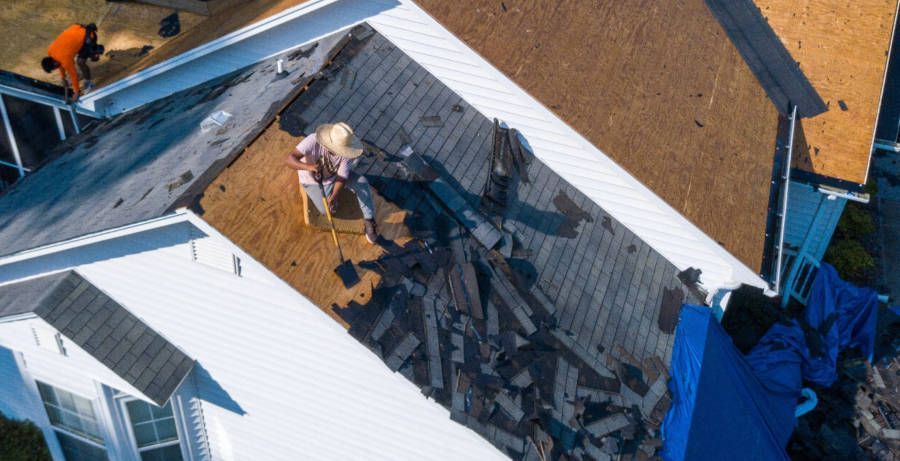
Step 1: Removal of Old Roofing Materials
Before installing a new roof, contractors remove old shingles or roofing materials. This step ensures a clean surface and allows for an in-depth inspection of the underlying decking. Layering new shingles over old ones is not recommended, as it can lead to structural issues and trapped moisture.
Step 2: Inspection of Wood Decking
Once the old roof is removed, the contractor examines the wood decking for damage caused by moisture or weather conditions. If the wood shows signs of rot or instability, it is replaced to ensure a strong foundation for the new roof.
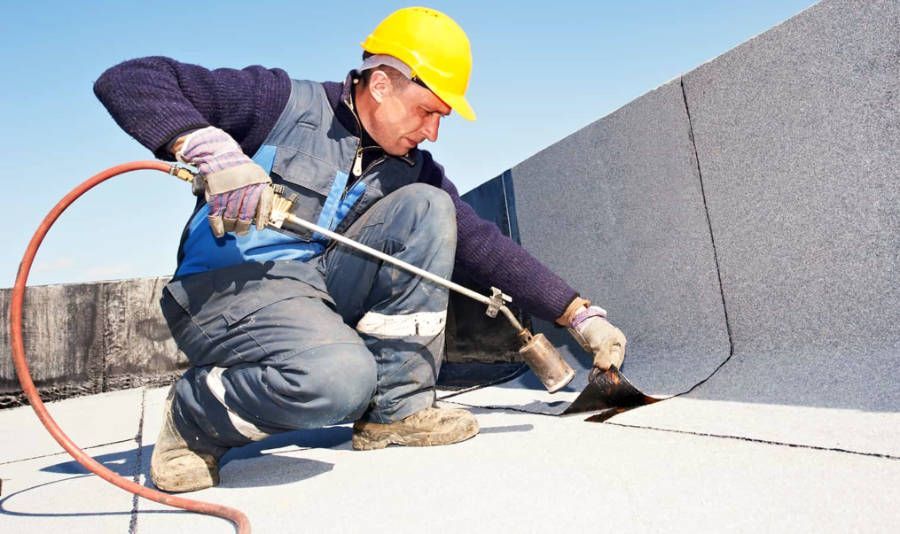
Step 3: Roof Surface Preparation
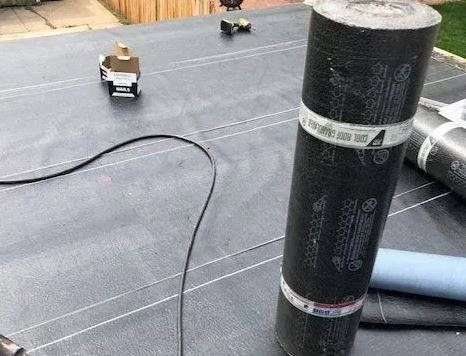
Proper preparation is crucial for longevity. This stage involves installing a drip edge to protect against water infiltration and applying waterproof underlayment to enhance the roof’s resistance to moisture and harsh weather conditions.
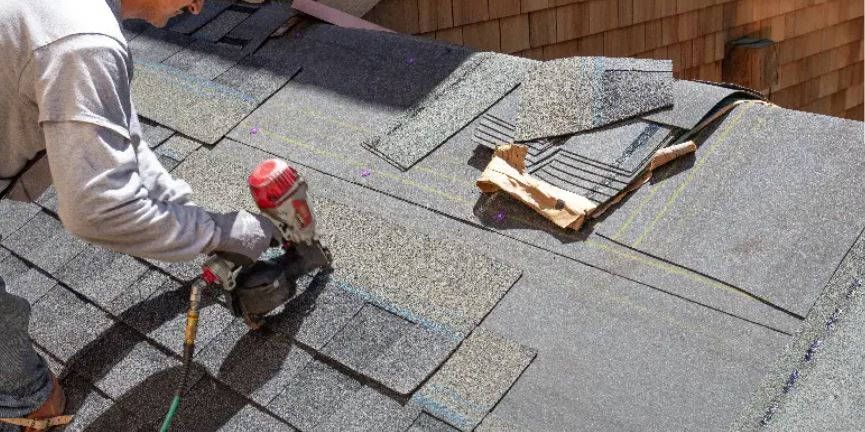
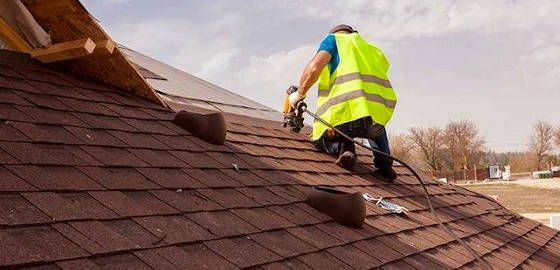
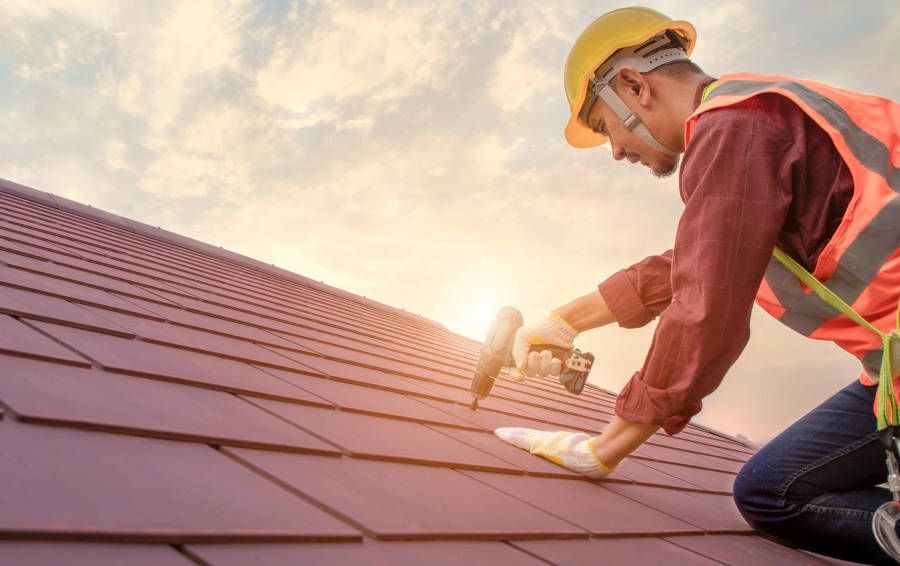
Step 4: Installation of New Roofing Materials
The new roofing materials are installed following manufacturer specifications. Whether you choose asphalt shingles, metal, or slate, proper installation ensures durability and long-term performance. Professional roofers focus on precision to maximize the roof’s lifespan.
Step 5: Site Cleanup and Final Inspection
Once installation is complete, contractors clean up all debris, including old shingles and nails, leaving your property safe and tidy. A final inspection is conducted to ensure proper installation and quality craftsmanship.
Why Hire a Professional Roofing Contractor?
While some homeowners consider DIY roof replacement, hiring an experienced roofing contractor is highly recommended. Professionals have the expertise, tools, and safety measures necessary for a seamless, high-quality installation.
By understanding the key stages of roof replacement and working with a trusted contractor, you can ensure a smooth process and long-lasting results. Investing in a quality roof today means peace of mind and protection for years to come.